This guide was created for Ubuntu and you may need to do things slightly differently for other Linux variants like ArchLinux or Debian.
-
Install Stunnel
-
sudo apt-get install stunnel4
-
-
Download linux_stunnel.zip with stunnel certificate & config files then unzip stunnel_linux.zip.
-
wget http://www.black-vpn.online/content/uploads/stunnel_linux.zip
-
-
Copy stunnel.conf and client.pem to /etc/stunnel/ folder
-
sudo cp stunnel.conf client.pem /etc/stunnel/
-
-
Enable stunnel by using a text editor to edit /etc/default/stunnel4 and change ENABLED=0 to ENABLED=1
-
sudo nano /etc/default/stunnel4
-
change ENABLED=0 to ENABLED=1
-
Use Ctrl + X to save the changes
-
-
Start stunnel
-
sudo /etc/init.d/stunnel4 start
-
-
Install or update openVPN
-
sudo apt-get install openvpn
-
-
Download blackvpn_linux_stunnel.zip with certificates & config files and unzip blackvpn_linux_stunnel.zip
-
wget http://www.black-vpn.online/content/uploads/blackvpn_linux_stunnel.zip
-
unzip blackvpn_linux_stunnel.zip
-
-
Run openVPN and specify which VPN location to connect to (in this example Privacy-Luxembourg.conf).
Enter your blackVPN username for Auth Username and your blackVPN password for Auth Password.
-
sudo openvpn Privacy-Luxembourg.conf
-
-
You are connected to the VPN as soon as you see the message Initialization Sequence Completed
-
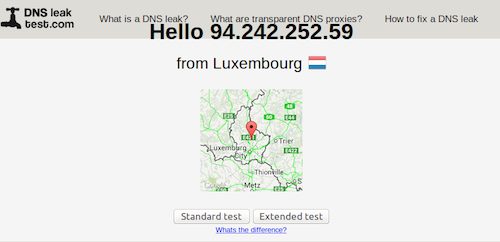
In your browser visit DNSLeakTest.com to check your IP address has changed.
-
Run the Extended test to verify your ISPs DNS servers are not visible.
-
To disconnect from the VPN… go back to the terminal window where you started openvpn and hit Ctrl + C

